


Introduction
In this post, I'll explain how to dockerize a .Net core app. This post specifically talks about dockerizing in Apple Silicon M1 chip (arm64 architecture) as there are some difficulties with building the solution in docker with this architecture.
This post won't be going over what is Docker. If you are interested in learning docker please visit this official website from docker.
Let's dive in!
Step by Step to Dockerize and Deploy .NET to Heroku
Here are the steps to create and deploy app to Heroku:
Create .NET app
Create Heroku project
Containerize our app and deploy to Heroku
Create your .NET App
- In your root project, open the terminal and start the project
dotnet new webapi --use-controllers -o <YourAppName>
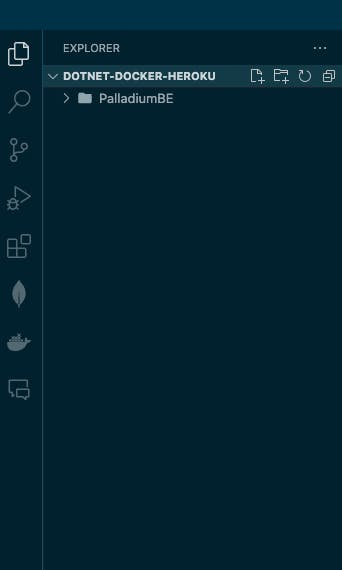
- A new project folder will be created
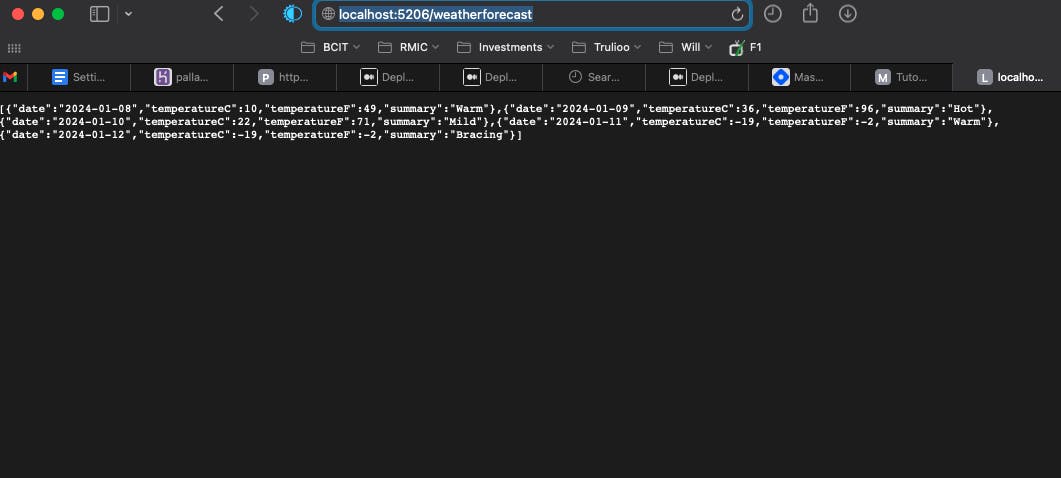
- Run dotnet run in terminal and check if your app is running successfully. In this example I'm using Microsoft's weather forecast example.
Heroku Setup
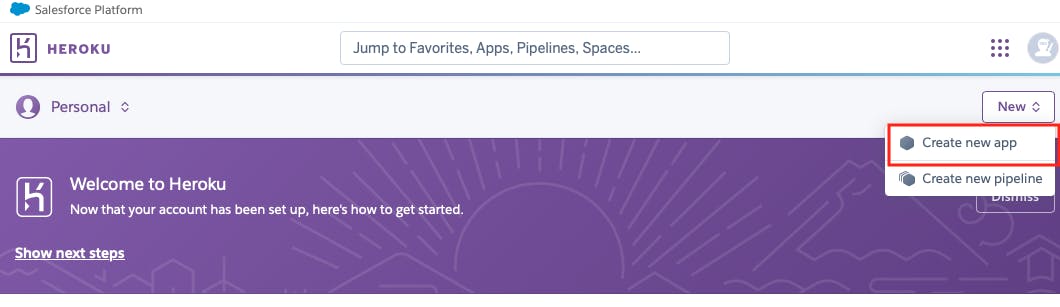
- Login to your Heroku account and create an app. Let's say the project name is PalladiumFloorsBE
Containerize
In your VSCode project's root folder terminal type in the following:
heroku loginA window will pop up in your browser prompting you to login to your heroku account
Next open your Docker Desktop app
Run the following command in your terminal
heroku container:loginMake a release file of your solution by running the following command:
dotnet publish -c Release -o outThis should create a folder with name out
In that out folder, create a Dockerfile file and paste the following:
 FROM mcr.microsoft.com/dotnet/aspnet:8.0 AS runtime
 WORKDIR /App
 COPY . .
 CMD ASPNETCORE_URLS=http://*:$PORT dotnet <YourProjectName>.dll
Replace the runtime image on the first line according to your project's needs. To find which version is your using, you can go to the .csproj file at the root of the project and find the following line:
<TargetFramework>net8.0</TargetFramework>In this case my project is using .NET8
On the last line, replace the <YourProjectName> with the proper project name. Your project name should be the same one that you typed in step 1 of Create Your .NET App section of this post
Build your project
docker build --platform linux/amd64 -t palladiumfloorsbe ./out- the --platform is to specify which architecture to run on. By default if you are using the M1 Apple Silicon chip, it will configure the platform to be arm64, which is not available by Heroku container registry
Tag and push your image
 docker tag palladiumfloorsbe registry.heroku.com/<YourAppNameInHeroku>/web
 docker push registry.heroku.com/<YourAppNameInHeroku>/web
Release and deploy
heroku container:release web -a <YourAppNameInHeroku>Congrats!! You have deployed your project. Happy coding
Troubleshooting
If you app is deployed but there are errors, you can monitor them by running the following command:
heroku logs --tailWhenever you change your code and would like to release. You need to refollow step 6 to 8